Contents
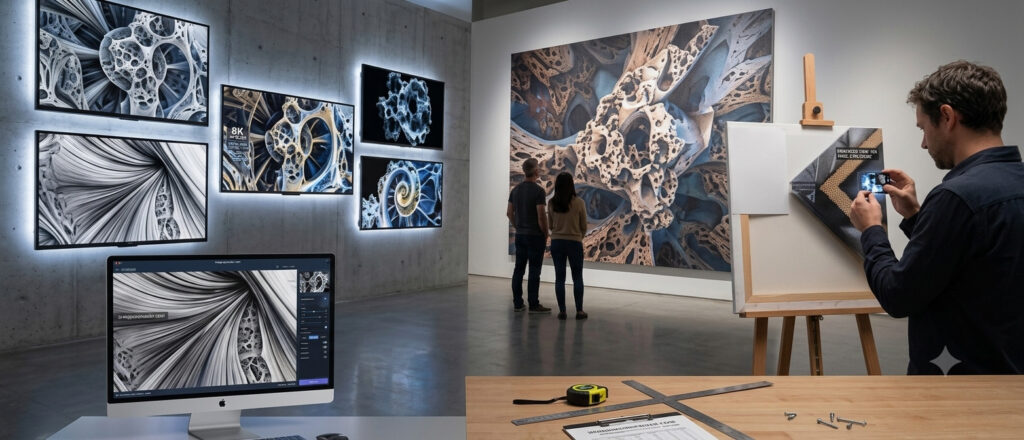
AI artwork shines on digital screens. Large physical prints are a different story. They require far more detail to stay crisp. Fortunately, huge wall displays don’t need maximum print specs. Standard viewing distances forgive lower pixel levels. Reserve ultra-high resolution for art meant to be examined up close.
To bridge this gap without ruining detail, grabbing an effective AI upscaler is step one. Canvas printing eats soft edges alive. Texture that looks painterly on an OLED screen translates into pixelated noise once ink hits fabric.
This guide shows how to calculate the required resolution, upscale AI art without obvious artifacts, and prepare a file that a canvas print lab can use. It also fixes one mistake found in most print-size charts: the pixel target must include the material wrapped around the stretcher bars, not only the visible front.
Why AI Art Needs Upscaling for a Large Canvas
The file may look perfect on a laptop and still print soft. A screen displays a relatively small image, while a large canvas spreads the same pixels over several square feet.
The key measurement is pixel dimensions. For example, a 2,048-pixel-wide image printed at 200 pixels per inch produces a print only 10.24 inches wide. Making its PPI metadata say “300” does not create new pixels.
Calculate the Pixel Dimensions for Your Canvas
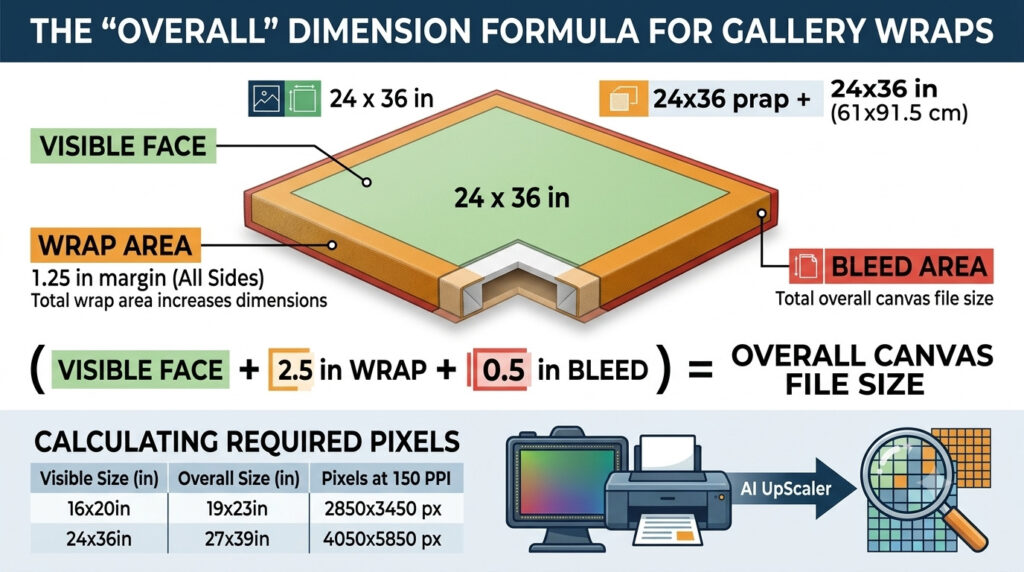
Use this formula:
“Overall” matters. A gallery-wrapped canvas needs image area for the visible face, both wrapped sides, and any extra bleed requested by the lab.
Pixel targets for common large canvas sizes
The table below includes a 1.25-inch wrap plus 0.25-inch bleed on each side. It does not represent every lab, so replace the overall dimensions with your printer’s specification when necessary.
| Visible canvas | Overall file size | Pixels at 150 PPI | Pixels at 200 PPI | Pixels at 300 PPI |
|---|---|---|---|---|
| 16×20 in | 19×23 in | 2,850×3,450 | 3,800×4,600 | 5,700×6,900 |
| 18×24 in | 21×27 in | 3,150×4,050 | 4,200×5,400 | 6,300×8,100 |
| 24×36 in | 27×39 in | 4,050×5,850 | 5,400×7,800 | 8,100×11,700 |
| 30×40 in | 33×43 in | 4,950×6,450 | 6,600×8,600 | 9,900×12,900 |
This is why “4K” is not a reliable print specification. A file that is 4,096 pixels on its long edge still falls short of the 5,850-pixel long edge required for a wrapped 24×36 canvas at 150 PPI.
Prepare Midjourney v6 Art for Upscaling
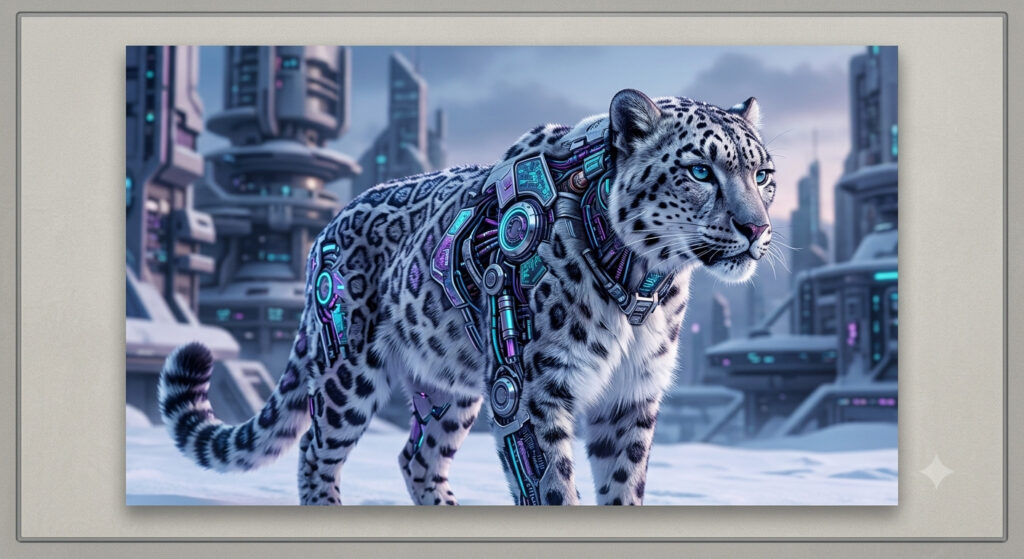
The cleanest enlargement begins before you run an image upscaler. Generate or reframe the artwork as close as possible to the final canvas ratio, keep important content away from the edges, and download the highest-resolution original.
Export the best available source
- Download the original result instead of taking a screenshot or saving a compressed copy from social media. Check its pixel dimensions in the file properties.
- If the only source is a heavily compressed JPEG, clean it before enlarging. Repeated blocks, ringing around edges, and mosquito noise become more visible after a 3x or 4x enlargement. A targeted tool can remove JPEG artifacts before the main upscale.
- Do not repeatedly save working files as JPEG. Use PNG or TIFF while editing, then create the lab delivery file at the end.
Prepare DALL-E 3 Art for Upscaling
DALL-E 3 offers a square, portrait, and landscape output. None is a native 2:3 or 4:5 canvas ratio, so some crop or extension is usually necessary.
Choose the closest supported orientation
Use 1024×1792 for a portrait canvas and 1792×1024 for a landscape canvas. Use 1024×1024 only when the final piece is square or when you plan to outpaint it.
For a 24×36 portrait canvas, the visible ratio is 2:3. The DALL-E 3 portrait ratio is 4:7, which is narrower. You can crop a little from the long dimension, extend the width, or place the art within a designed border. Decide before upscaling so you do not spend processing time on pixels that will be discarded.
How to Upscale AI Art for Canvas Printing
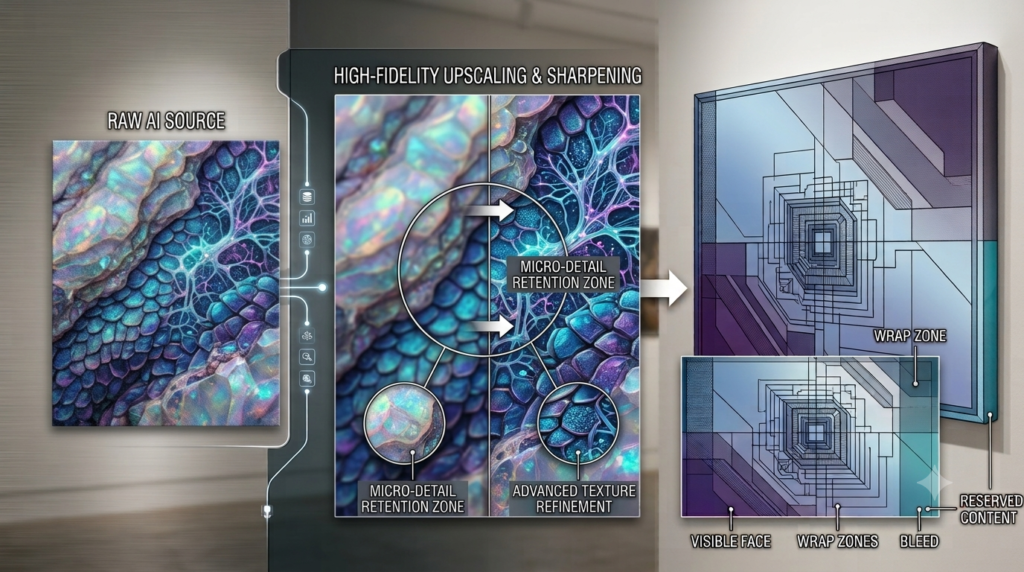
Upscaling works best as a controlled print-preparation step, not a single “make it HD” click. The goal is to reach the lab’s required pixels with the least invented detail.
Calculate the required upscale factor
Use 150 PPI for most large canvases and 200 PPI for close-viewed or detailed art. Check the lab’s file requirements first.
Use the larger of the width and height factors. This ensures that the resized image covers the full template after cropping.
For example, Midjourney’s current Subtle and Creative upscalers can produce a 2:3 image at 1792 × 2688 pixels. However, export dimensions and available options can change, so always confirm the actual pixel dimensions of the downloaded file in its properties before calculating the required enlargement.
A DALL·E 3 portrait file generated through the API is typically 1024 × 1792 pixels. Covering the same template requires almost 4x on the width before cropping. That is a more demanding enlargement, so inspect faces, text, and repeating patterns carefully.
If you need a larger working file, use an AI upscaling tool rather than relying on basic nearest-neighbor or bilinear resizing. Options include dedicated AI upscalers, Adobe Photoshop or Lightroom’s Super Resolution tools, Topaz Gigapixel, ON1 Resize AI, or an enlargement service recommended by your print lab.
Upscale once, then inspect at 100%
Choose the smallest factor that meets the print target. A single planned upscale is generally easier to evaluate than several stacked passes.
Use this workflow:
- Duplicate the original file.
- Crop or outpaint to the required aspect ratio.
- Calculate the overall wrapped dimensions and target PPI.
- Run one enlargement with a 4x AI image upscaler only if the calculation requires it.
- Compare the result with the original at 100% zoom.
- Inspect faces, hands, eyes, lettering, straight edges, fabric, foliage, and repeated textures.
- Reduce the factor or try a less creative upscaling mode if the tool invents distracting detail.
For painterly art, a little softness is often safer than sharp but false micro-detail. Canvas texture can mask minor softness, but it cannot hide malformed eyes, doubled jewelry, broken typography, or repeating tiles.
If the upscale is structurally clean but still slightly flat, make restrained tonal and detail adjustments. You can improve image quality before export as a separate finishing step, then recheck the file at both 100% zoom and the expected viewing size.
Finish the File for the Print Lab
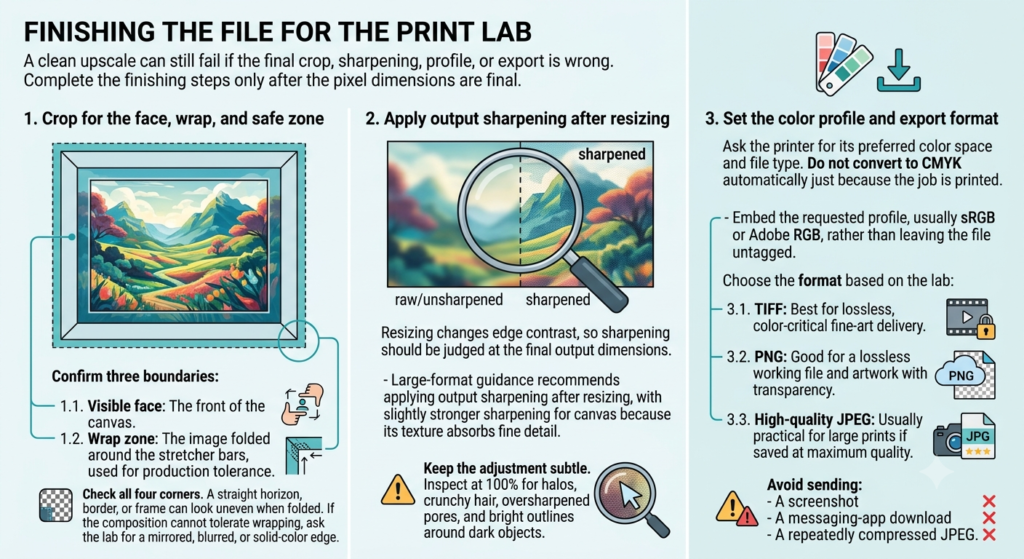
A clean upscale can still fail if the final crop, sharpening, profile, or export is wrong. Complete the finishing steps only after the pixel dimensions are final.
- Crop for the face, wrap, and safe zone: Place the enlarged art inside the printer’s template. Confirm three boundaries:
- Visible face: The front of the canvas.
- Wrap zone: The image folded around the stretcher bars.
- Bleed: Extra image beyond the wrap, used for production tolerance.
Check all four corners. A straight horizon, border, or frame can look uneven when folded. If the composition cannot tolerate wrapping, ask the lab for a mirrored, blurred, or solid-color edge rather than sacrificing the artwork.
- Apply output sharpening after resizing: Resizing changes edge contrast, so sharpening should be judged at the final output dimensions. Large-format printing recommends applying output sharpening after resizing, with slightly stronger sharpening for canvas because fabric absorbs fine detail. Keep the adjustment subtle. Inspect at 100% for halos, crunchy hair, oversharpened pores, and bright outlines on dark objects. Then zoom out to the approximate physical viewing size. If the file looks a little too sharp on screen but good at normal distance, a test print will settle the decision.
- Set the color profile and export format: Ask the printer for its preferred color space and file type. Do not convert to CMYK automatically just because it is a print job. Many print workflows expect an RGB file and perform the conversion through the printer profile. Embed the requested profile, usually sRGB or Adobe RGB, rather than leaving the file untagged.
Choose the format based on the lab:
- TIFF: Best for lossless, color-critical fine-art delivery when the lab accepts large files.
- PNG: Good for a lossless working file and artwork with transparency, although many labs do not need transparency for canvas.
- High-quality JPEG: Usually practical for large prints if saved at maximum or near-maximum quality.
Avoid sending a screenshot, a messaging-app download, or a repeatedly compressed JPEG.
Turn AI Art Into a Print-Ready Canvas
The safest workflow is simple: calculate the full wrapped size, choose a realistic PPI for the viewing distance, enlarge only as much as needed, and inspect every important detail before export.
When the native Midjourney v6 or DALL-E 3 file falls short, use ImageUpscaler to add the pixels required for the canvas, then finish the crop, sharpening, profile, and proof with the print lab’s template. Start with the highest-quality source and keep the enlargement conservative enough that the artwork still looks like the image you approved.